image from: medium.com
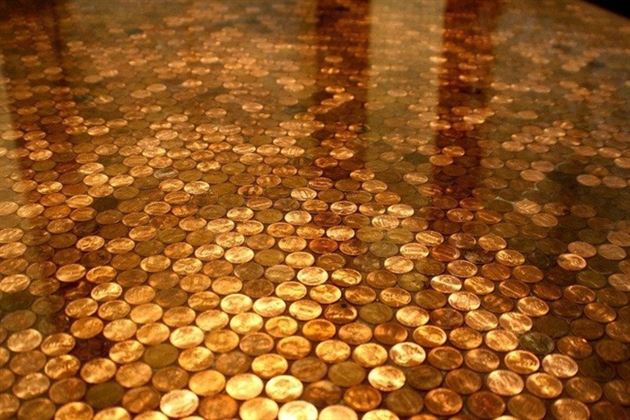
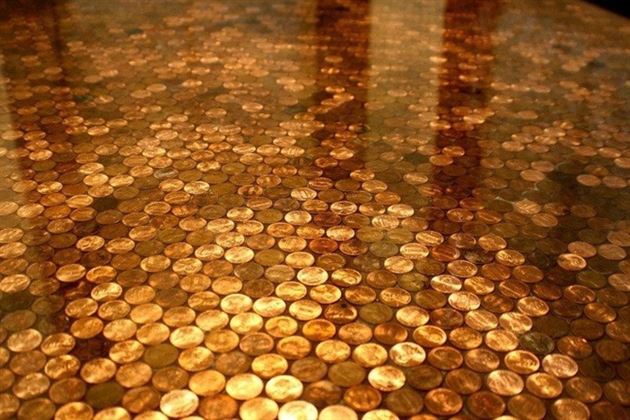
Have you thought of what you wanted to give yourself this year? How about a fancy new copper floor for a fraction of the cost?
Too good to be true? Not at all!
For a little over two dollars per square foot, you could get yourself your very own penny floor. Yes, you read that right. Your own coin floor made of pennies! And if you’re in a more spending mood, nickels cost about ten dollars per square foot.
Now you have a space for all that spare change you have lying around the house and tucked inside your jean pockets. Here’s how to install your own coin floor at home.
Clean the floor.
- For a shinier look, soak the coins in vinegar. You could also get new coins from the bank if you want them to be squeaky clean.
- Think of a design and test it out by laying the coins on the floor. Choose a side (heads or tails). This will also let you see how well the coins will fit together.
- Choose from tile or glass glue, or even regular glue (but this will definitely be flimsier).
- Glue the coins onto the floor, paying attention to the direction and the right side.
- Once you have secured all the coins onto the floor, apply a thick coat of polyurethane – the high gloss variety.
- Finish it off with a final top coat for sealing. You could use either polyurethane or an epoxy sealer for this.
Making your own coin floor is a great way to translate your creativity and incorporate it into your home. Coin floors are durable, easy to clean, and absolutely beautiful to look at.
Article originally published as: Cents and Sensibility: How to Make a Penny Floor


